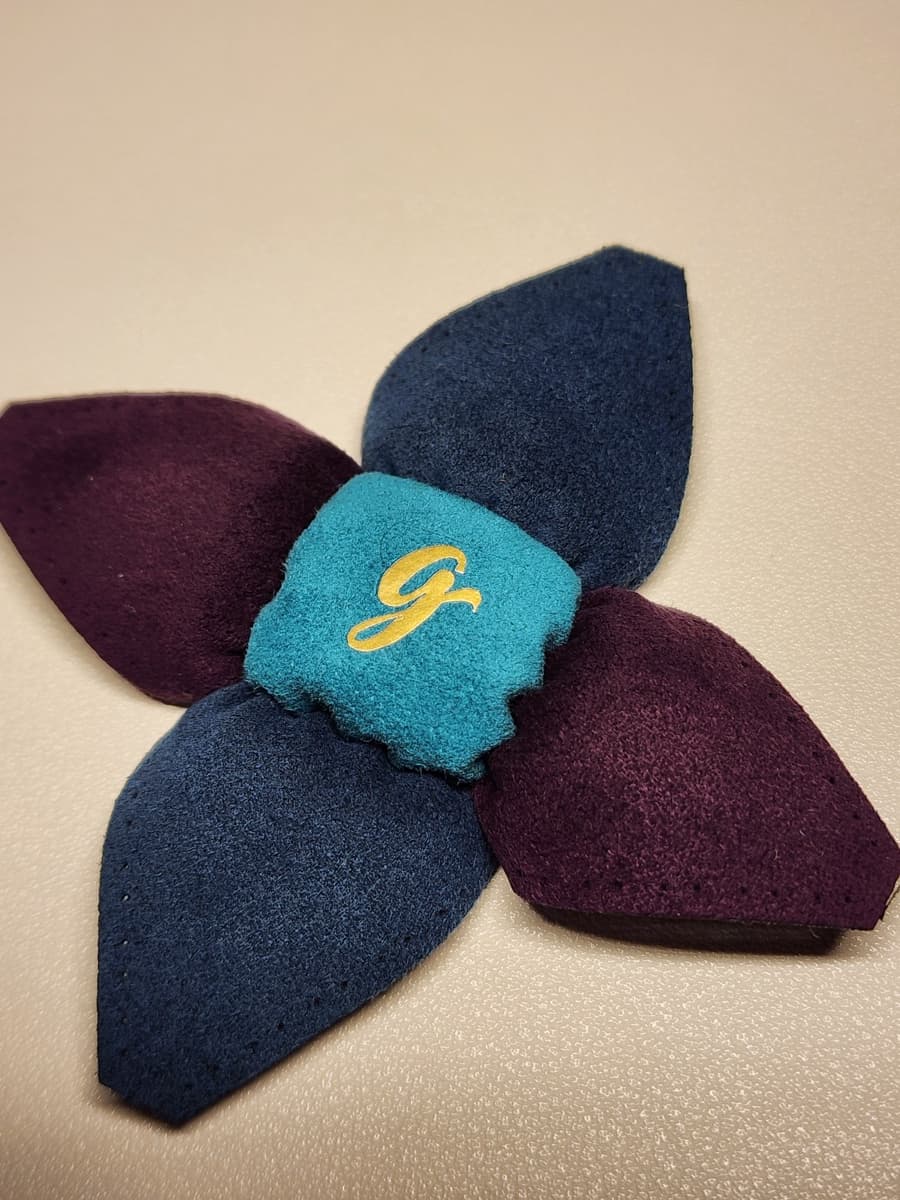
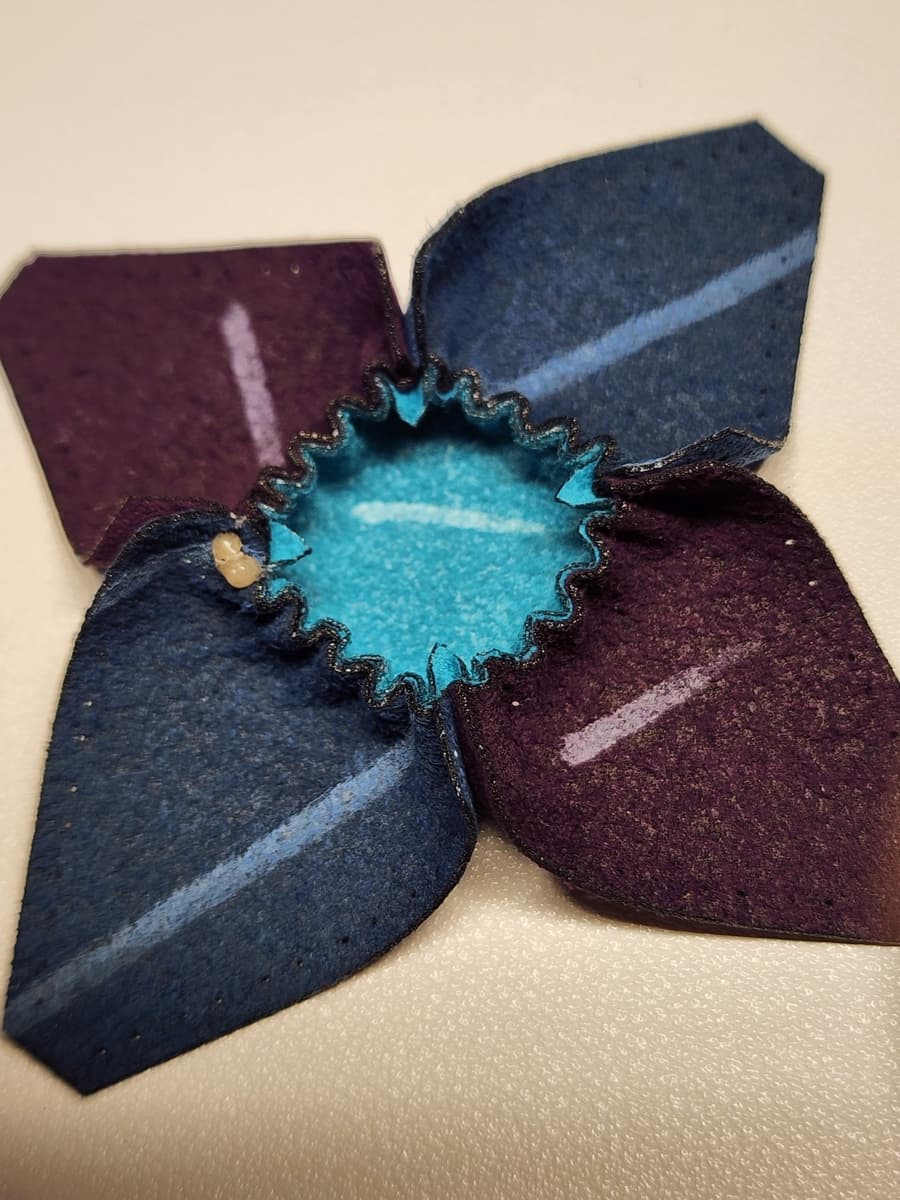
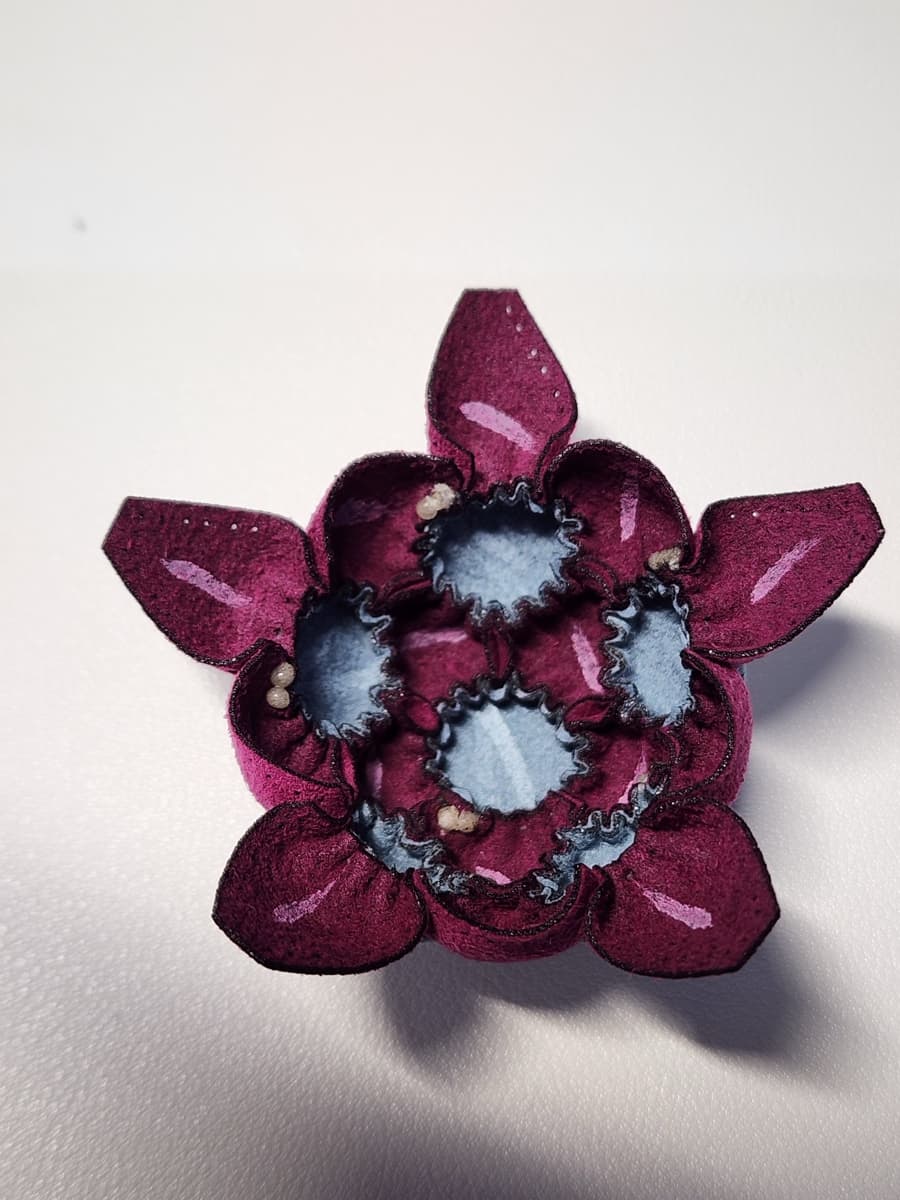
A Stitcher's Guide
HOW TO MAKE A FOOTBAG THE BEST WAY TO START
Start with a kit, then cut your own once you know you like it. Here is what each step costs you — the same answers apply whether you call it a footbag or a hacky sack.
Written by G of New York Footbag · Updated
WHAT YOU NEED TO MAKE A FOOTBAG
Five things. A kit is the first three in one box, so you only add a needle and thread.
Fabric
Fabric →A non-woven synthetic — Ultrasuede LX is the standard. One square foot makes about four bags.
Fill
Fill →Stainless steel shot. Around 60 g per freestyle bag, which finishes near 65 g.
Needle
Needles →A dull tapestry needle for precut holes, a sharp glover's needle if you cut your own.
Thread
Thread →All-purpose polyester. Waxed dental floss once you want to stitch knotless.
A template
Templates →The panel shapes, and where the stitch holes go. Ours are free.
THE STITCHER'S PATH
Each stage costs more than the last and buys you more control.
- 1
Start with a kit
· tens of dollarsA kit is exactly one bag's worth, and the alternative is not. The smallest sensible materials order is a square foot of fabric — about four bags — plus half a kilo of steel, which fills seven or eight. You would be buying material for most of a dozen bags before finding out whether you enjoy making one.
- —A 32-panel bag is typically around 180 stitches — three to an edge, five edges, twelve pentagons. In a kit every hole is laser-cut in the right place. Cutting by hand you judge all of them by eye, and uneven spacing is what makes a first bag lumpy.
- —Make it a 14-panel. It stitches in roughly half the time of a 32, so you finish sooner, learn from what went wrong and start the next one — the feedback loop is the whole point of a first bag.
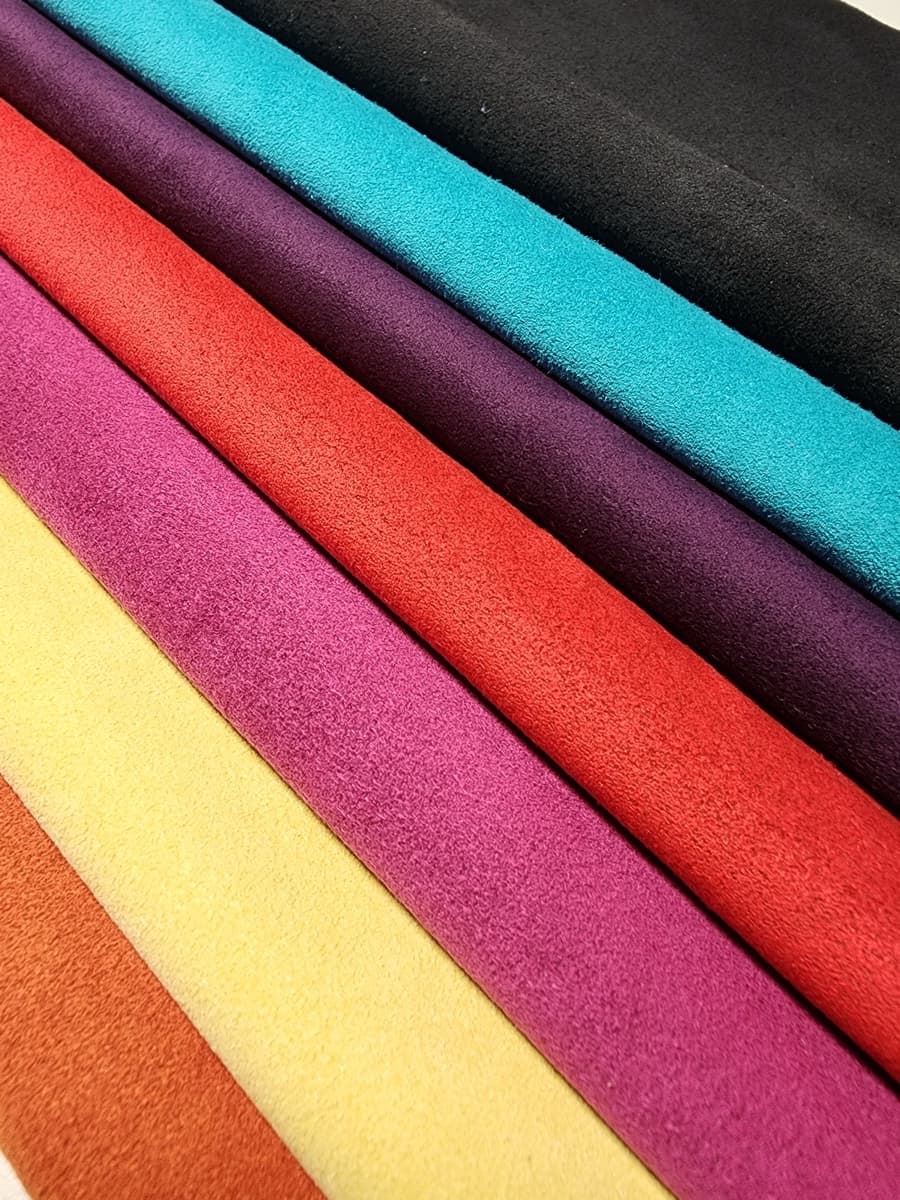
- —Pick several colours in one order. Buying fabric, each colour is its own square foot.
- —No template to work out and no suppliers to track down.
- —A kit is panels and fill. Add a needle and thread — they are cheap, and they are the one thing people forget.
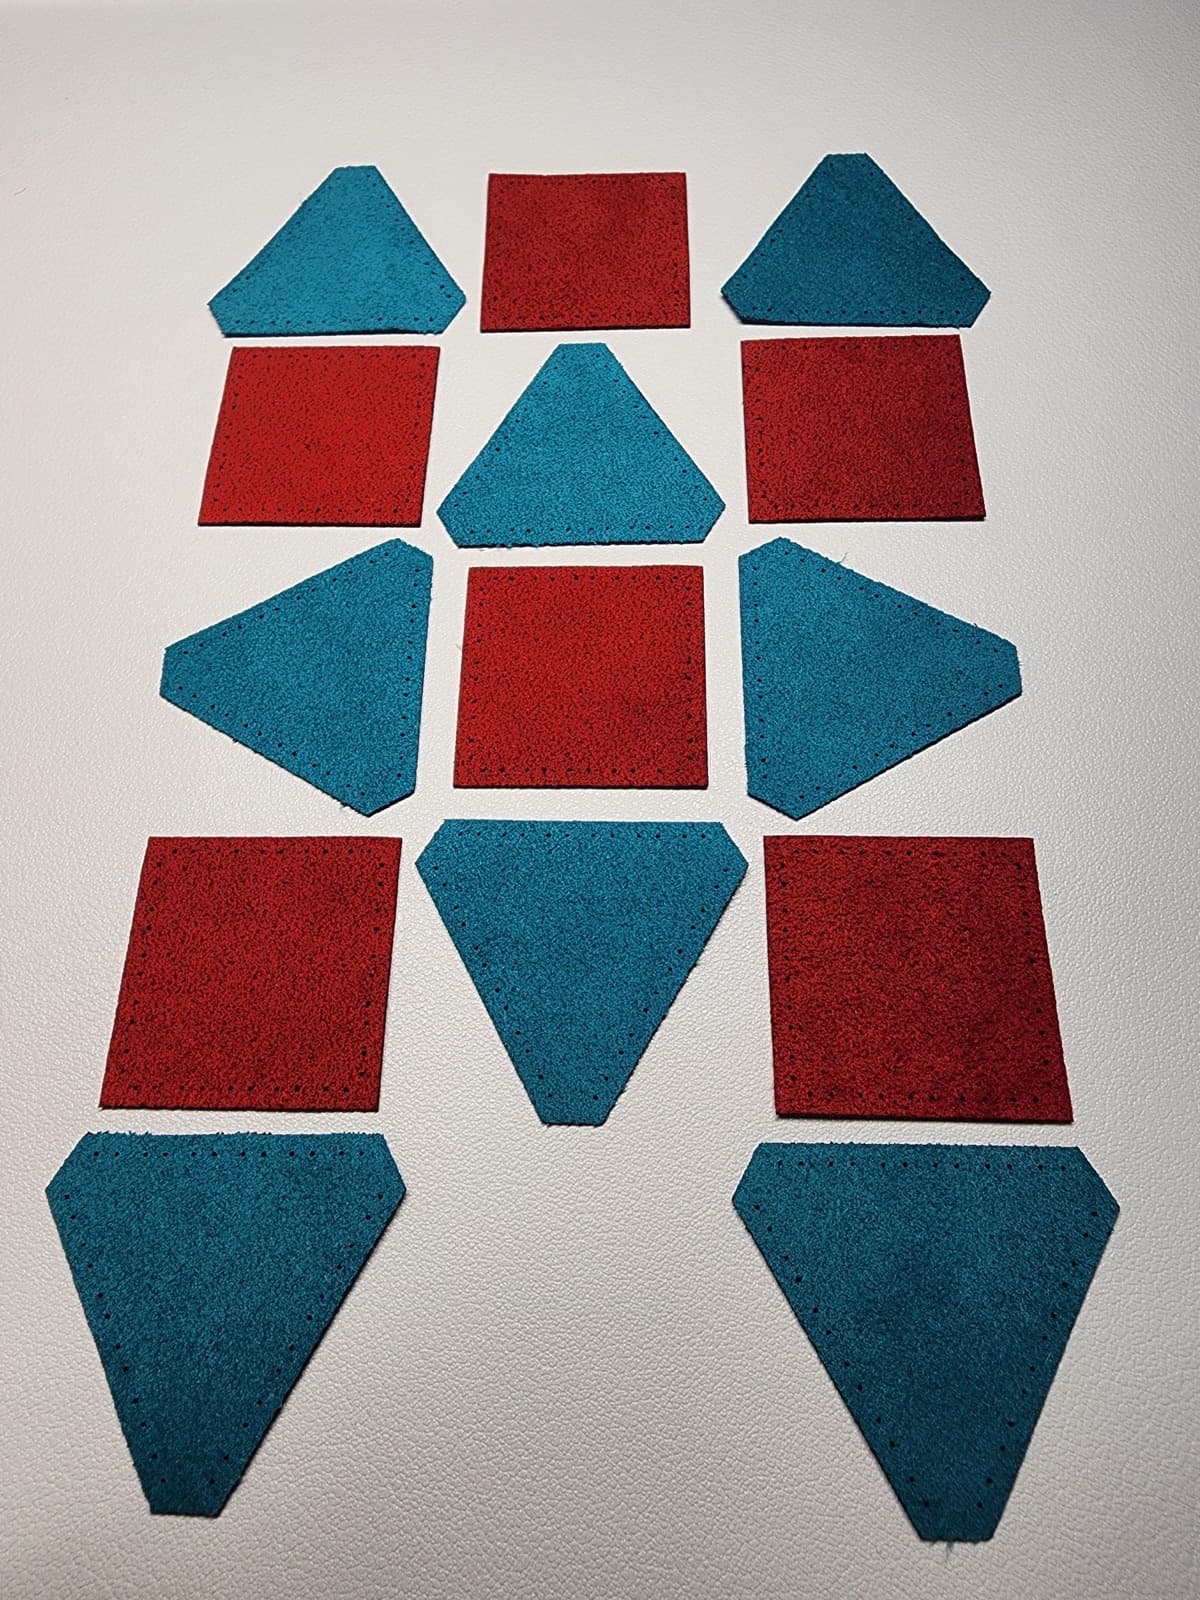
A kit can make a genuinely good bag on the first try. Take your time, be patient, restitch when you make a mistake, gather consistently and tie good knots. Most first bags fail on impatience, not on skill.
- 2
Fabric in small quantities, cut by hand
· under a hundredNow you choose the size, the panel count and the colour layout instead of picking from kits. Fabric by the square foot and fill by the bag keeps the order small enough to experiment with.
- —No stitch holes, so every position is yours to mark and pierce, on both panels of every seam.
- —You also take on templates. You can start from an established one, but stitchers tweak theirs over time until the bag comes out exactly how they like it — that iteration is most of what this step is.
- —Paneler, an app made by G and Ivan, is built for exactly that: design a bag and generate the stitching template for it, instead of editing a shape by hand and hoping it comes out round.
Coming soonPanel template stamps. One stamp per panel shape, with the stitch marks on it — so you can lay a panel out and mark every stitch position in one press, instead of tracing the outline and spacing the marks by eye.
- 3
Cut your own with a laser
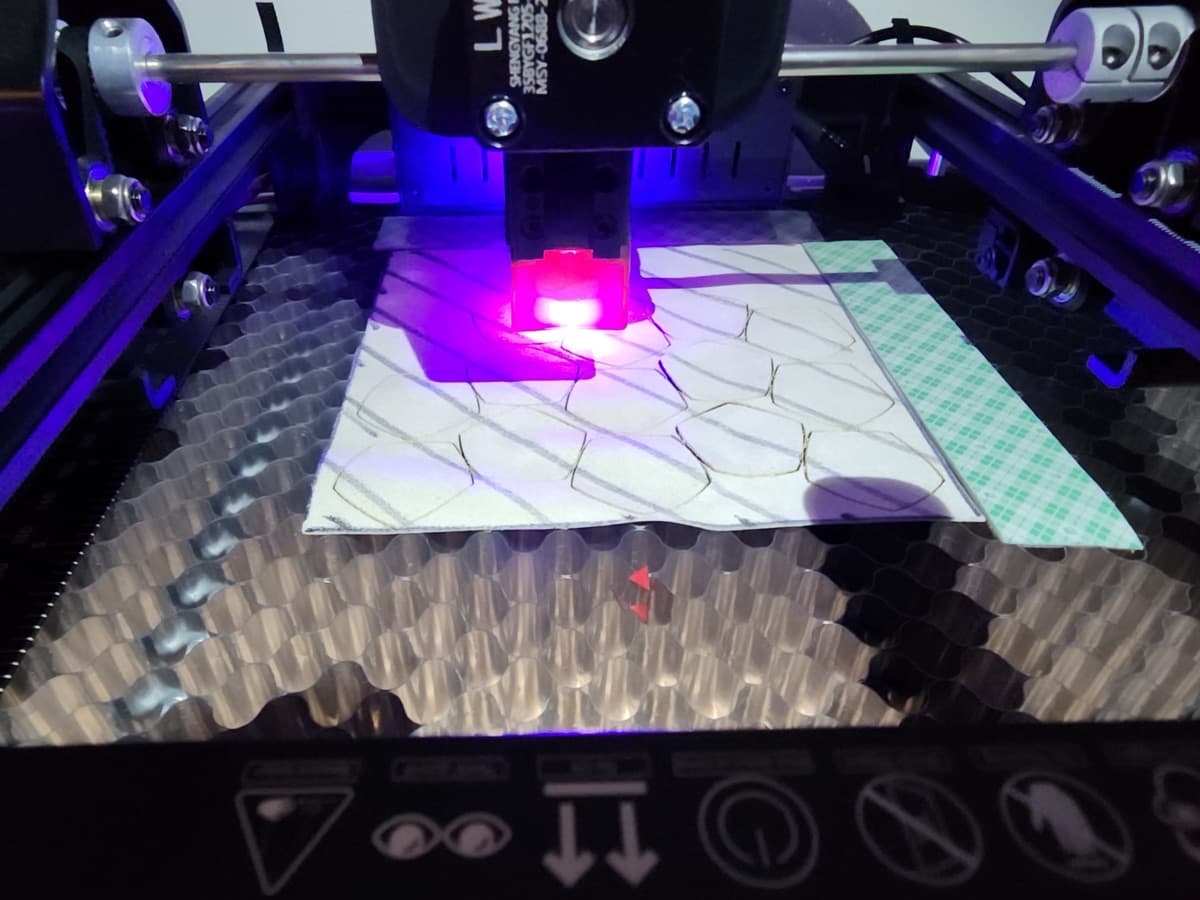
· $500 and upCut your own panels with the stitch holes in, like the kits — your designs, at kit precision.
- —The holes go back to being cut rather than judged, so the panel count stops limiting you. A 32 becomes as repeatable as a 14.
- —It opens up fabric you could not use before: a laser seals the cut edge, so some woven fabrics become viable where hand-cutting would fray them.
- —Aim for about a square foot of cutting area. A small diode laser is plenty of power; the bed size is what you will notice, because it decides how many panels you can lay out in one go.
- —If space at home is tight, a compact machine still works — the ACMER S1 is 6 W with a 130 × 130 mm bed. Pick that one for a small living space, not as the default.
- —The machine is not the whole cost. A honeycomb mat and ventilation are both required, not optional extras.
- —Expect practice before it is useful. Power, speed and focus have to be worked out for each fabric, and you still have to design templates that stitch up round.
- 4
Stitcher end game
· a spare roomYou have tried every fabric you can find and you are still looking for something better. The bag is solved; the search is the hobby now.
- —Designs stop being a choice between 14 and 32 and start being a question. Trionda, Orbita, Teamgeist, a 92-panel — shapes that exist because somebody wanted to see what they played like.
- —A rock tumbler, to polish your fill and to test how a fabric wears.
- —A high-end laser with built-in ventilation and air assist.
- —A closet given over to fabric, and ten different fills on the shelf.
- —A sewing machine, because one day you are going to machine-stitch an 8-panel.
- —A motorised inclined plane, to measure fabric grip and how much a bag rolls.
- —An understanding of what each individual LT colour was like to stitch and to play.
- —And eventually a footbag company, like newyorkfootbag.com.
Trionda · 4 panels Orbita · 12 panels Teamgeist · 14 panels 92 panels
What about buying fabric by the yard?
Usually not worth it. These fabrics sell by the yard at around $90, and a yard is many bags' worth of one colour. A decent spread of colours can run toward $2,000 — and most of it sits in a drawer, because you buy far more than you get around to using.
It was the only option for a long time, and it still makes sense if you are stitching in volume or committed to one colourway. For everyone else it is the most expensive way to find out whether you enjoy stitching.
KICKING, HYBRID OR FREESTYLE?
It comes down to pop. One bag is built to have it, the other to lose it, and a hybrid sits between them. Fabric, size and fill all follow from that.
Circle kicking
Built for a consistent, lively pop off the foot. Firmer fabric and a fill mixture give it that rebound, and it runs slightly larger. The firmer fabric also survives being stepped on and left in a bag for a month.
Hybrid
Between the two. Enough pop to kick around comfortably, enough deadness to stall it. A lot of people end up here.
Freestyle stalls
Built to kill the pop, so the bag stays put where you catch it. Softer fabric and mostly steel deaden the rebound and let the weight settle onto your shoe, and it runs a little smaller. Everything below assumes this.
Which fabric should I start with?
A non-woven synthetic. Ultrasuede LX is the safe first choice; Lamous TH if you want softer.
There are thousands of fabrics and only a handful work for footbags. The dividing line is fraying. Everything that works is non-woven — bonded microfiber rather than threads woven together — so a cut edge has nothing to unravel. Woven fabric does, and on a hand-cut panel those edges work loose with every kick until the seam opens.
Freestyle bags use softer fabric so they stall more easily. There is a durability tradeoff, but it is usually not an issue, because freestylers take good care of their bags. Kicking bags use firmer fabric, which also survives being stepped on and left in a bag for a month.
Ultrasuede LX
The current standard and the safe first choice, and the equivalent of the discontinued Ultrasuede LT. Soft enough to play straight away — it barely needs breaking in.
Lamous TH · 0.58 mm
Softer than LX, and extra floppy — the best freestyle feel we have found, and durable enough for a freestyle bag.
Tradeoff: Too soft for a kicking bag, which wants a firmer fabric.
Shammy 707J · 0.5 mm
Thinnest. Feels broken-in immediately.
Tradeoff: Least durable of the three.
Korean faux suede · 0.6 mm
Bonded faux suede, and it makes a top-notch 14-panel bag.
Tradeoff: Sold as a ten-colour pack rather than by the single square foot.
Woven fabric
Cheap, and some of it is usable if you cut with a laser — the cut seals the edge.
Tradeoff: Cutting by hand it frays, and the bag comes apart. Avoid it unless you have a laser.
Published specs, with the source named. Where a manufacturer does not publish a figure we have left it blank rather than estimate it.
| Fabric | Composition | Thickness | Width | Areal density |
|---|---|---|---|---|
| Ultrasuede LX | 80% polyester, 20% polyurethane · 0.04 dtex microfibre | 0.6 mm | 1,300 mm | 220 ± 20 g/m² |
| Lamous TH | 92% polyester, 8% polyurethane | 0.58 ± 0.05 mm | 1,300 mm | — |
| Shammy 707J | 65% polyester, 35% polyurethane | 0.5 mm | 1,150 mm | — |
| Amaretta | 60% nylon, 40% polyurethane — the only one here not built on polyester | — | — | — |
| Korean faux suede | Bonded faux suede, no published spec | 0.6 mm | — | — |
Sources: Composition, thickness and width are the manufacturers' own published figures — Toray for Ultrasuede, Asahi Kasei for Lamous. Amaretta is listed because people ask about it. We have not stitched one yet; a roll is on the way, and we will say how it plays once it has been tested.
Thickness barely separates these: 0.5 mm to 0.6 mm across the whole set. Ultrasuede LX and Lamous TH are two hundredths of a millimetre apart, and Lamous is the softer of the two — Toray calls the LX grade "the softest and most supple touch" in the Ultrasuede range, and it is still the firmer fabric of the pair. The spec that actually varies is the polyurethane: 8% in Lamous, 20% in LX, 35% in Shammy, 40% in Amaretta. We have not tested whether that tracks how a fabric plays, so take it as a pattern in the published numbers rather than a rule.
Finding a new footbag fabric is a community effort and a slow one. Stitchers put a lot of hours into hunting down candidates, and then the community makes some footbags out of the new fabric, breaks them in, and plays them for long enough to judge playability and durability together. Both have to hold up, and that takes real time before anyone will say a fabric is good. Most never make it. Lamous TH is the most recent fabric to make it — it makes a great freestyle footbag. One square foot makes about four bags, whichever you pick.
All the fabrics we stock→Which fill should I start with?
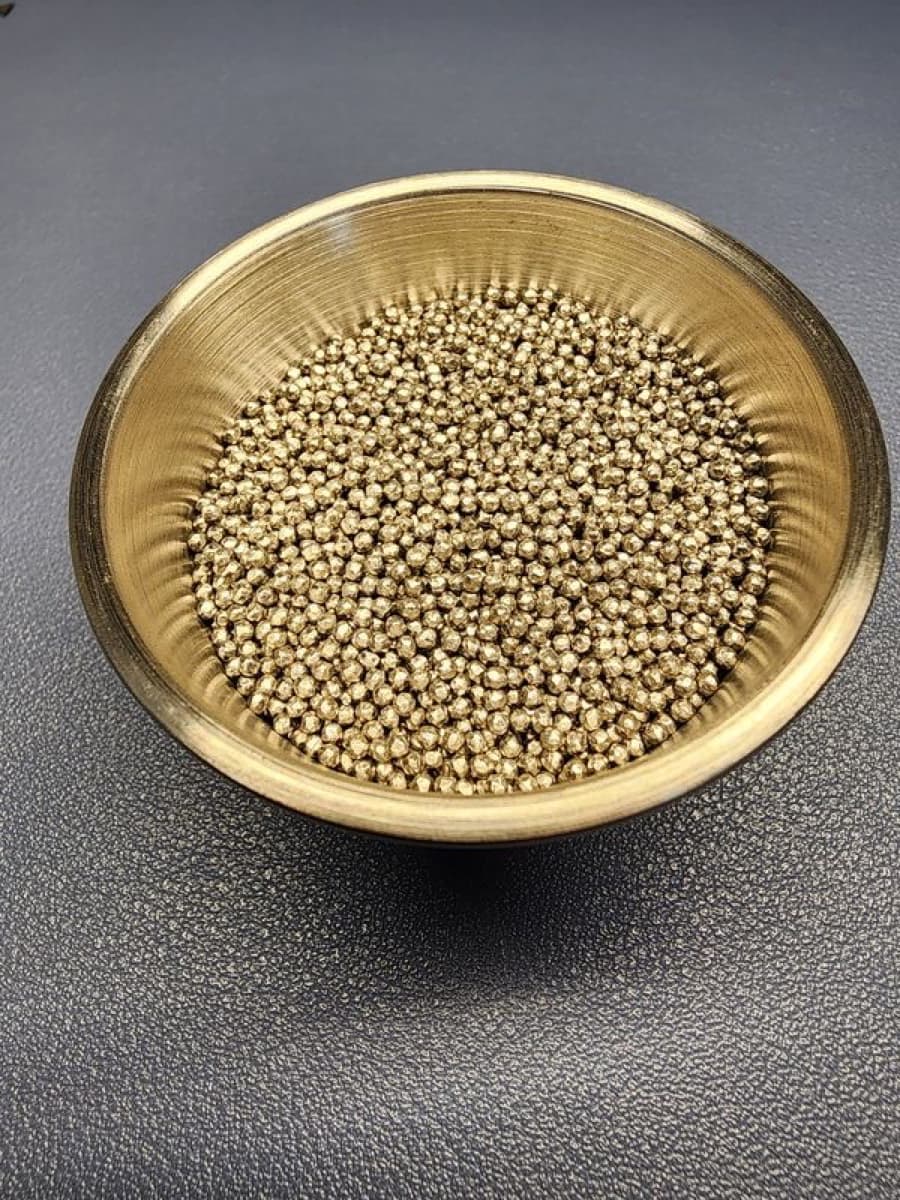
For a freestyle bag, about 60 g of 2 mm stainless is a good starting point — that puts the finished bag around 65 g.
2 mm stainless
The default, and the most forgiving of imperfect stitching.
Tradeoff: The grittiest feel of the three, and the loudest.
1.6 mm stainless
Smoother and quieter than 2 mm.
Tradeoff: Leaks through loose stitching.
1 mm stainless
The best feeling fill there is — smooth, quiet, and it settles beautifully under the foot. Worth working up to.
Tradeoff: Your stitching basically has to be perfect or it leaks. Not a fill to learn on.
Rubber crumb / plastic
Volume without much weight. Kicking bags usually use a mixture; freestyle bags are mostly steel.
Tradeoff: Changes the feel a lot, so add it deliberately rather than to fill space.
Sand
Cheap, and what most mass-produced bags are filled with.
Tradeoff: Not recommended. A third the density of steel, so it packs nearly solid just to weigh enough, and it abrades the fabric from inside on every kick.
Bead size decides feel and noise: the smaller the steel, the less gritty it feels under the foot and the quieter the bag. It also decides how much precision you need — small fill escapes through any gap, so both your stitching and your panel templates have to be accurate. That is a good reason to stay on 2 mm until you are cutting panels you trust. Use stainless, 304 or 409: carbon steel rusts from sweat and stains the fabric from the inside out.
Fill calculator — how much for your bag→How many panels should a footbag have?
Start with a 14 — it stitches in about half the time of a 32. Both are played at every level; plenty of freestylers prefer a 14.
Panel count is mostly a question of how much work the template has to do. Fewer, bigger panels need more spherical compensation — the flat shape has to be distorted so it comes out round once it is stitched and stuffed. Footbag WorldWide's pattern notes put the threshold plainly: compensation is critical at 4 and 6 panels, 8 is the grey area, and past 12 panels it stops mattering much.
2 to 6 panels
Fewest seams, quickest to stitch, and the easiest to cut.
Tradeoff: The hardest to get round — this is where template compensation does the most work.
8 to 12 panels
The counts most online tutorials teach, and a common first bag.
Tradeoff: Still inside the range where the template shape matters.
14 panel
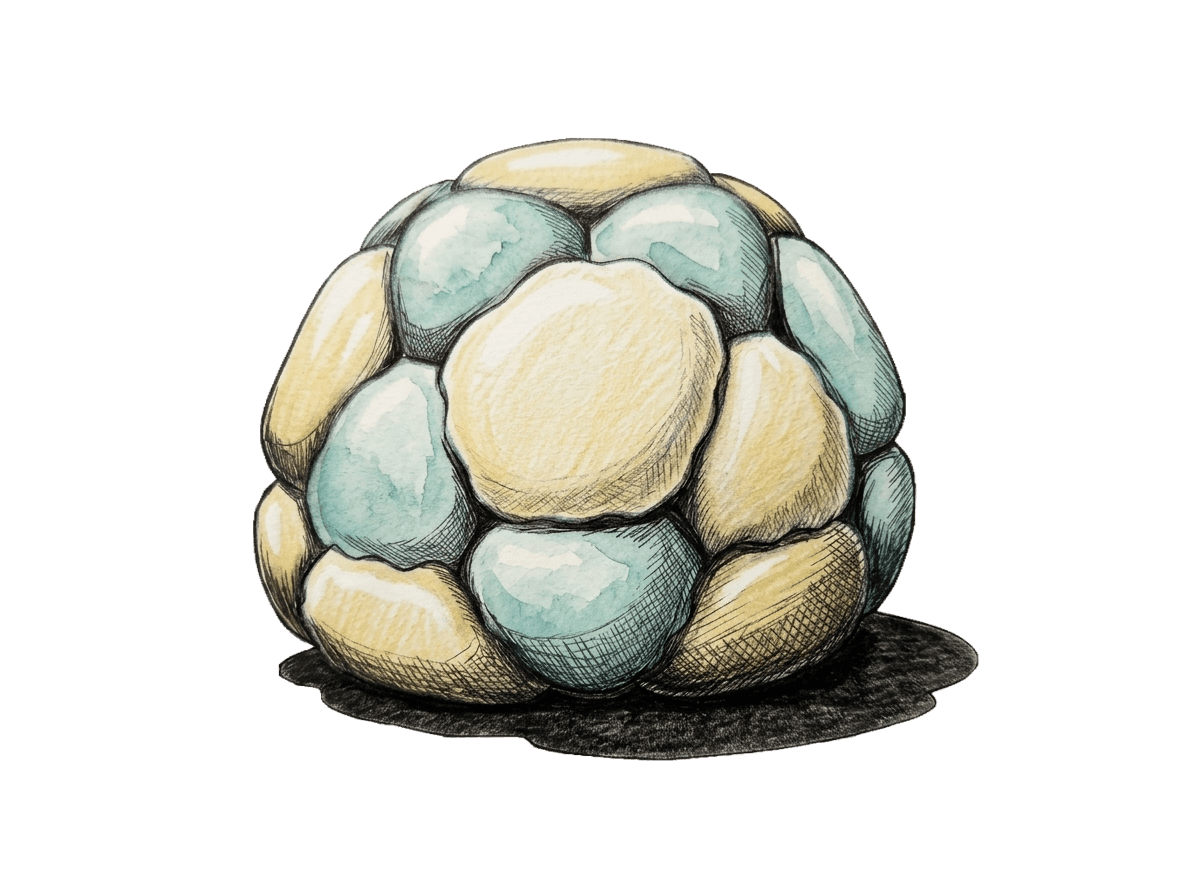
Six squares and eight hexagons. Bigger panels, fewer seams, about half the stitching time of a 32 — and plenty of freestylers prefer them.
Tradeoff: Worth trying both once you have made one.
32 panel
Twelve pentagons and twenty hexagons — around 180 stitches.
Tradeoff: Twice the stitching of a 14.
More than 32
Patterns exist up to 62 panels.
Tradeoff: A lot more stitching. We do not make them, so we have no first-hand view on how they play.
How heavy should a footbag be?
Around 65 g for a freestyle bag.
65 g
The freestyle standard, and what about 60 g of 2 mm stainless gets you. Every one of the 14-panel footbags listed on this site is 65 g; the 32-panels run 65–70 g.
Tradeoff: That is what we make, not a rule — stitchers and disciplines vary.
Size
Measured across the bag, not along a panel. Our 14-panels run 1.8″ to 2.4″ in diameter, the 32-panels 1.9″ to 2.0″.
Tradeoff: Diameter changes the feel more than the number suggests: a 2.4″ bag holds about 2.4× the volume of a 1.8″ one, so the same 65 g leaves it far emptier — which is what makes a bigger bag floppier.
What needle do you use to stitch a footbag?
A dull tapestry needle if the stitch holes are precut. A sharp glover's needle if you are cutting your own.
Dull tapestry needle · size 24 or 26
Finds the hole that is already there, so it will not shred the edge. What kits want. 26 is thinner, 24 has a bigger eye and is easier to thread.
Tradeoff: No use on fabric with no holes in it.
Sharp glover's needle
Triangular point, made to pierce suede and leather cleanly. What you want when cutting your own panels.
Tradeoff: On precut panels it makes new holes next to the real ones and tears the edge.
What thread do you use for a footbag?
All-purpose polyester thread to start. Waxed dental floss once you have the sequence down.
All-purpose polyester thread
Cheap, available anywhere, and strong enough. What kits are designed around — we use Sewology.
Tradeoff: Every gather gets knotted and superglued, which is most of the fiddly work in finishing a bag.
Waxed dental floss
Thicker and waxed, so it lets you stitch knotless — faster, and no superglue.
Tradeoff: Worth switching to rather than starting on: it assumes you already know the gather-and-close sequence.
Can I just use sand?
We don't recommend it.
Steel is 4.58 g/mL, sand about 1.5. In a 1.9″ 14-panel bag holding ~55 mL, 65 g is 14 mL of steel (26% full) or 43 mL of sand (78%). That empty space is what lets the weight settle onto your foot, and a sand bag has to pack nearly solid just to weigh enough — so it never gets the flop that makes a bag stall. Sand is also abrasive, and it wears the fabric from the inside on every kick.
How we know: both numbers are weighed here rather than looked up. 250 mL of stainless discs comes to 1,145 g (4.580 g/mL) and 250 mL of 1.6 mm beads to 1,142 g (4.568); rubber crumb is 0.462 g/mL and plastic pellets 0.552. The bag volume is measured too — a 1.9″ 14-panel holds 3.75 TBSP, or 55.5 mL, against the 58.8 mL a true 1.9″ sphere would have, because the panels never bulge all the way out.
Fill calculator→Still have a question about making your own footbag?
Send us an email or a DM and we will answer it. You do not have to have bought anything from us.
Want to talk to other stitchers?
Most of what is on this page came from people comparing notes. If you are stitching, or stuck partway through a bag, get in touch — we are happy to answer questions and to point you at the people who know more than we do.
STITCHING TUTORIALS
By two stitchers from the community, shared with their permission.
WHAT IT LOOKS LIKE